

When you receive our DIY leather kits or you are ready to do some leather work, better to learn some basic sewing methods before you start. Hand sewing is a very important skill in leatherwork, and it is fairly easy to master even if you have no previous sewing experience. All our leather kits have pre-punched holes which ensure that your stitches will be evenly spaced. The needles are also fairly large and usually blunt, so they are easier to see and less likely to poke you.
In this blog I'll show you two basic leather sewing skills which we will use these skills to assembling the bag patterns.
We will be using:
- Waxed thread
- Leather needles
- Scissors
- A lighter or glue
- Leather pieces with stitching holes punched

We prepared all these tools with your leather patterns(except glue or lighter)
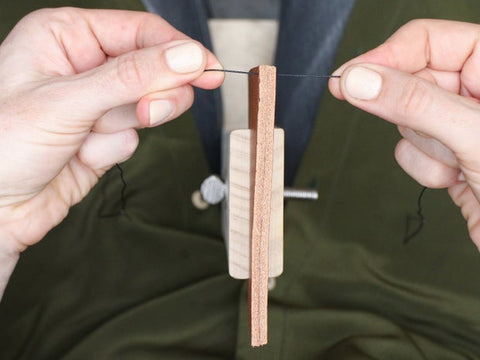
After we thread a needle, we're ready to sew now!
The First Basic Saddle Stitching Way With One Needle
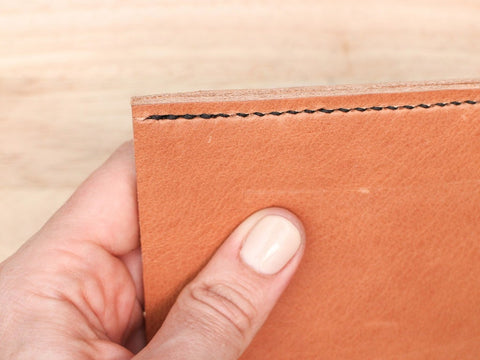
Saddle stitching is the most common stitch for leather sewing. The saddle stitch fills in every stitch on both sides, creating one unbroken line which looks neat and professional.
Let me show you the one needle, two passes method now.
Firstly pass a needle into the first hole of your seam, pull the thread through, leaving a tail. Then pass the needle through the second hole to create s single stitch.


Then go back through the first hole, and then the second hole again. We do this because it will help lock the thread in place.

Then we start the normal stitch, creating a "dotted" line of stitching.

(Tip: Pull the thread tight after each stitch, but not too tight.)
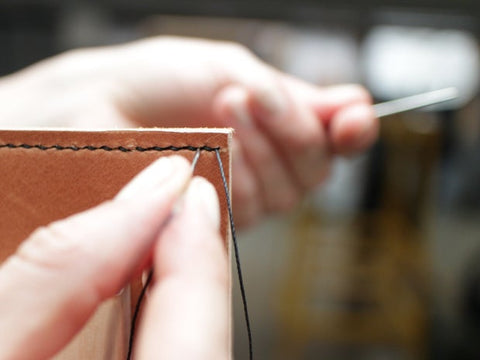
When we reach the end, starting sewing back the other way this time going through each hole in the opposite direction, filling in the opposite spaces between sewing holes. Try match the thread tension of this second pass to the tension of the first pass so the stitches look neat and even.


When we get back to where we started, backstitch 2 or 3 holes to lock the thread in place before cutting it off.

(Tip: If you run out of thread in the middle of your sewing, use the same backstitching method to tie off your thread before starting a new one.)
The Second Basic Saddle Stitching Way With Two Needle
Have you get the points of the first sewing method? : p
Let's start learning the second two needles method now.
Cut yourself a length thread, and thread a needle on each end. Pass one of the needles through the first hole. Pull the thread through so there is equal amount on each side.

Then take a needle and pass it through the second hole. (Tip: Usually we take the needle at the back side of the leather first. The leather has front side and back side.)


Now we take the second needle and pass it through the same hole in the opposite direction. We could stick this second needle into the second hole behind the first thread. (In other words, each time we stitch from the right side we pull the thread in the same direction) This will help our stitches stay even.

Pull the second thread through. Now we have one needle on the opposite sides again. Pull the thread tight after each stitch to create even stitch.

Then we start the process over and over again to fill left holes. Always keep up this same pattern you started with (right then left or back to front) to make sure your stitches stay as even as possible.

When we get to the end we are going to backstitch 2 or three holes with both needles to lock the thread in place.
When we have backstitched enough, use a scissor to cut thread. Keep a little thread when we cut it, we could use a lighter to fire the thread or get glue to the thread to make it more firmly. Please don't get the glue to the leather or burn the leather directly which will destroy the leather.
Here is a video to show you how two needles sewing method goes:
Now we have learn two basic sewing methods, let's try to make a bag with our bag its now! If there are some other methods we used or some important points, we will explain clearly in tutorial videos. Just enjoy it.


Leave a comment