

Learning how to dye leather and applying finishes to the surface of leather is a must and basic skill for every leather crafter, and it can help to create an amazing piece that will look great.
However, do the dyeing work well needs quite a bit of trial and error. Don't afraid of mistake before you start to learn it. In this article, our guide will help you figure it out some basic leather dyeing skills.
Let's recognize different types of leather dyes before we get to our work.
Types of Leather Dyes
There are several different types of leather dyes commonly available. Each type of leather dye has different characteristics and performance, and leather craftsman apply them in different projects. No matter what type of dyes you apply, the coat will only go darker, and the dark color leather can't be dye lighter easily.
Basic Leather Dye
One distinct characteristic of basic dye is its little bit sour smell, and the sour smell will disappear as time goes by. Basic dye is rich in color, and the color is more vibrant. Though the basic dyed coat is water-resistant, the coat will slightly decolorize after intense sun exposure for a long time. Basic dyes don’t penetrate the leather as deeply than other dye types, and a large amount is required to achieve expected effect. However, the dye can be absorbed fast once it is applied to leather.
The biggest advantage of basic dye is after large coat applied; the leather can still retain its softness. In addition, basic dyes have some unique colors. The basic dye can't be mixed with alcohol-based dye.
Basic dyes are often used in small area leather dyeing, it's better to choose alcohol-based dyes when apply to a large piece of leather.
Alcohol-Based Leather Dye
Alcohol-based leather dyes penetrate the leather deeply, efficient and fast. Once stain the leather by mistake are difficult to correct it, so we need to be very careful.
The color choices of alcohol-based dye are less than that of basic dyes, and the color is generally darker. We can dilute the alcohol-based dye by adding alcohol, the color will become lighter while the penetration will not decrease much. Its advantages of resistant water and sun exposure are distinct, the color will not easy to fade. However, after dyeing the leather will be stiff and harder. Leathers dyed with alcohol-based types will then usually benefit from application of a leather conditioner to restore some of that pliability and the oils within the piece.
Oil-Based Leather Dye
The most color of oil-based dye are dark expect white and yellow. Though it can be applied to coat common leather, the color is not easy even when apply it to large piece of leather.
Oil-based leather dyes penetrate the leather deeply, so the color goes beyond the surface. The excess dye needs to be cleaned up after dyeing. In general, a retention time of 20 seconds is sufficient for maximum coating.
In a short time after dyeing, we could use wet cotton cloth to lighten the color which has been dyed. Color stays firmly on leather within 10 minutes after dyeing. The coat is sun resistant, but not very washable.
How to Dye Leather
After knowing three commonly used leather dyes, let's jump to the most exciting part - dyeing leather.
1. Preparation Stage
Dyeing leather can get a little tricky and messy, so it's important and very helpful to have everything prepared ahead of time.
- First, ventilate your work space.
- Gloves: Wear gloves almost all the time while handling deglazers, dyes, and finishes.
- Plastic trash bag: Cover your workspace to protect for stains.
- Leather Deglazer: Used to clean the leather for dyeing.
- Leather Dye: The pigment used to color the leather.
- Wool Dauber: Used to apply the dye to the leather, as well as the deglazer and finish.
- Soft Cloth: Used to wipe away excess dye.
- Leather Conditioner: Use to moisturize the leather after dyeing.
- Leather Finish: Used to seal the dyed leather surface.
- Tray/Tub: Used to hold the dye
- Vegetable Tanned Leather
2. Clean the Leather
Deglaze your leather. This helps remove the oil or wax on the leather surface if you use finished leather. If you use unfinished leather, then this step is unnecessary. Use soft cloth to clean up the dust and/or body oil on the unfinished leather.
3. Apply the Dye
After the leather has been cleaned up, it is ready for dyeing. Before you apply dye for the whole piece of leather, use a small piece to do all steps, ensuring the final result could achieve your expectation. As we mentioned before, if you use alcohol-based dye, you could cut the dye by adding alcohol to achieve your desired color; oil-base dye, cut with oil, water-based dye, cut with water.
Lay the prepared leather piece out on the table, dip a wool dauber or soft cloth into the dye. It's usually best to apply the dye in light, even coat for several times. Allow the first coat to dry, then continue applying the next layer till it reach your desired color.
Once the dye is completely dry (alcohol dyes can take as little as 10 minutes to dry), buff the leather with a clean rag to take of excess pigment.
4. Apply Your Finish
When your final coat is completely dried, it's important to re-hydrate the leather after dyeing to ensure the color maintained properly and last a long time. Apply the conditioner with a soft rag in a circular motion. When conditioners are dry, use a clean cotton rag to clean up the leather again.
No one, especially for beginners, could do leather dyeing work well in one day. Don't afraid of mistakes and errors, within practice you will master it!
Popular Leather Dyeing Projects
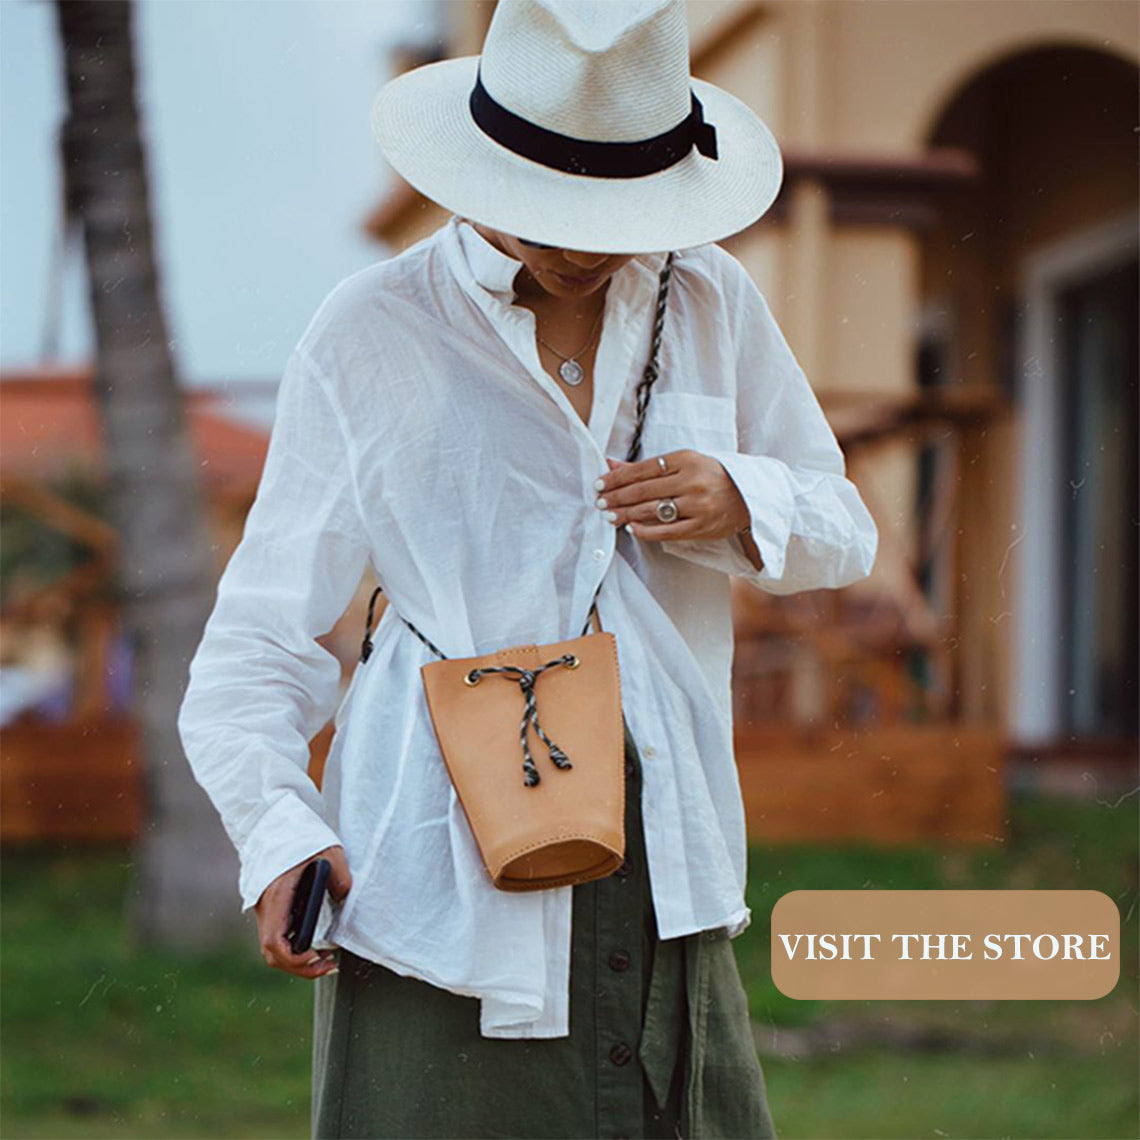
If you decide to dive in or do something crazy, there are some perfect vegetable tanned leather diy kits on POPSEWING to be your new project. If you don't want to take risk to ruin them, just wear them, use them, our natural vegetable will develop beautiful patina over time.
Be sure to read our The Ultimate Guide to Take Care Your Different Types of Leather Crafts article to care for your leather bags.


Leave a comment